The following SAP training tutorials guide on you everything about the SAP login process and how to start the SAP systems step by step.
SAP Logon
You can access the SAP Logon screen by two methods.
1.Desktop SAP Logon Icon:
Double-clicking the SAP Logon icon from the desktop. It is GUI (Graphic User Interface) that helps you log in to SAP.

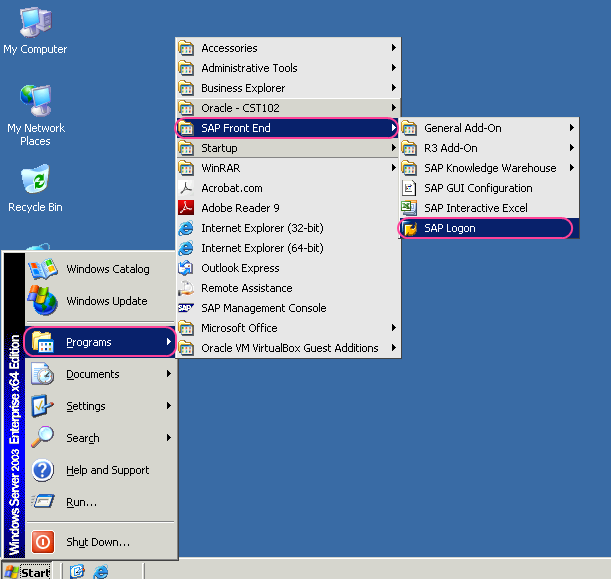
2. From Programs:
Select the start menu and click on all programs. Follow the following steps to start SAP from the start menu.
Start >>> All programs >>> SAP Front End >>> SAP Logon.
After selecting SAP Log on, the following Log on screen appears. Click on Log On option.
Note: Before you logon to the SAP system, make sure you have configured the required system entries.

The following screen appears to update the login details.
- Client: – Update the client number (e.g 800, 200 etc)
- User: – Enter the user ID provided by the administrator.
- Password: – Enter the password provided by the administrator, however, you can change the password for security purposes. (Note when you are entering the password asterisk appears rather than characters)
- Language: – To enter the language key is optional. Enter the language key that you want to display menus and fields in a specific language.

After updating the client as 800, user ID as adark, and password, press the enter button so it will take you SAP Easy Access screen as shown below.
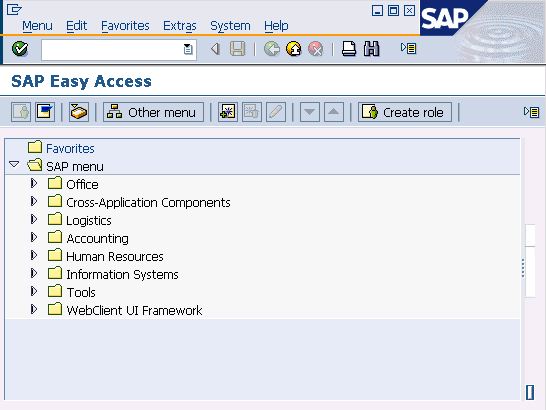
With this SAP easy access screen, you can work on all activities such as implementation, development, and end-user activities.
How to configure SAP Logon for SAP System Access
Before you create SAP logon, make sure the configuration details such as
- Application Server
- System Id
- Instance Number
To configure the SAP login with an SAP system, refer to the step-by-step guide:
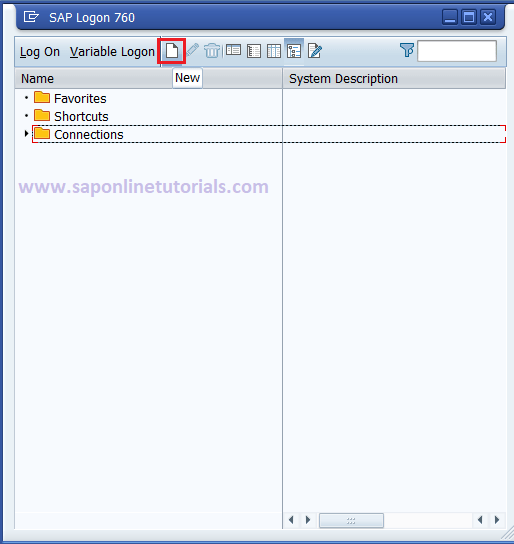
Step 1: From the start menu, open the SAP logon icon
Step 2: Click on the option ‘New’ to create new SAP system entries
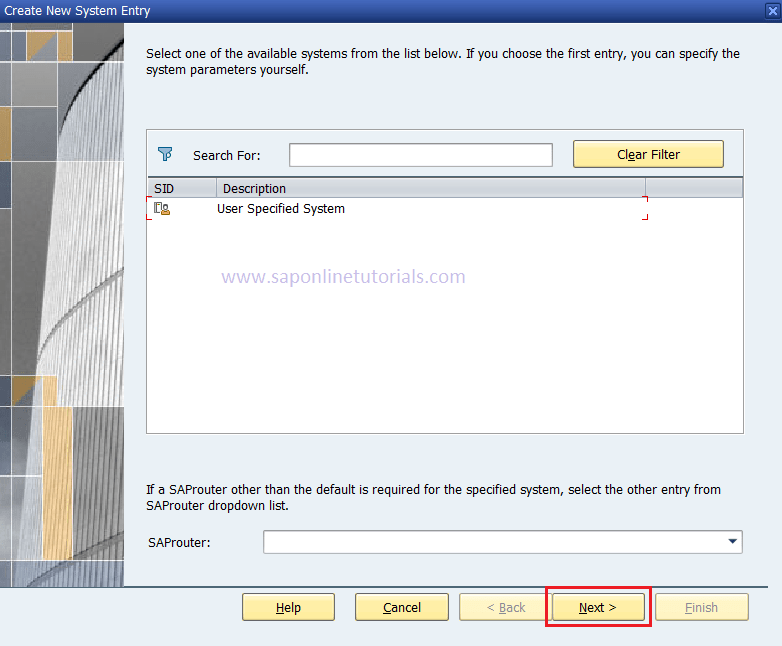
Step 3: On create new system entry, click on the ‘Next’ option to continue to the next configuration screen.
Step 4: Now update all the required details such as:
- Connect type: Select as custom application server or group/server selection. For the practice system, we select as ‘Custom Application Server’
System connection properties: Under system connection properties, update the following details:
- Description: You can update any description, for example, SAP S4HANA Access, or SAP ECC Development.
- Application Server: Details of SAP server application
- Instance Number: The instance number of the Server, it will be two numerical digits.
- System Id: ID of system,

Click on ‘Next’ and click on ‘Finish‘.
Now successfully SAP Login entries have been created on SAP GUI. You can log in to the SAP server using your username and password.